my girlfriend's son may not know it yet, but I think he may have a knack for the whole artist thing.
Check out the abstract drawing that appeared in a thank you note from the birthday gift we sent him (he turned 2!);
Does it look like a bird to you?? His mom and I thought so too. That's what got my idea going... I immediately knew that with just a few tiny tweaks and a color switcheroo, the little man could look like a semi-pro!
All I did was scan the card into my computer, and opened it up in Paint. There I cropped it down to just the bird-ish drawing and erased two small lines from the original that were distracting from the real flavor of the piece (see how technical I'm getting? haha).
Then I saved it and opened it up in PowerPoint. There may be an easier way to do this, but this is the "blue collar" version of making artwork since I don't own Photoshop :). After I opened it up in PowerPoint, I simply changed the photo to black and white. I had tried to do this step in Paint, but it got a little grainy/distorted when I saved it. Not so in PowerPoint. Then I actually printed it onto cardstock from the PowerPoint program, because I was able to resize it to the size more easily there than in Paint for what I needed for my frame.
Ta da! It looks like a neato abstract charcoal bird drawing to me!
What do you think? Is he a little picasso or what? Are your kiddo's doing any artwork that deserves to be matted and framed like this one?
Showing posts with label decorating. Show all posts
Wednesday, August 31, 2011
Tuesday, July 19, 2011
a lamp before...then after ♥
i found these lamps at a Goodwill during the spring, and i had a vision in my head of how i wanted them to be...i fell in love with the shades ($19.99 from Lowe's) and was just waiting for the perfect find from a thrift store or garage sale...these were $4 each
blah...yeah i know...i was originally gonna spray paint the exterior of the glass in white, when i took them down to my utility sink to clean them up a bit, and like magic! the scary country rose paint started to chip away and wash off with hot water! i was so excited...
i knew painting on the inside of the glass would make for a better finish and keep the lamps looking nice 'n shiny on the outside
i forgot to take a picture of the lamps before we started taking them apart, but there was no shade so the only thing missing from the photo were the lamp parts that we threw away (the electric stuff...ya know...that stuff) (we did buy new lamp kits so they would be silver instead of yucky brass...all together those parts cost about $20)
i ♥ damask...don't you?
i swirled leftover white paint i had from a previous project, inside the globe until it was completely covered then let it dry for 24 hrs. it needed a second coat, so i repeated that process...then spray painted the brass base white and hot glued some white cording from Joanns (like the handles you'd find on a canvas bag) in between the base and the globe...it gave it more of a completed look i think...
2 lovely new lamps...one for me...one for he
i would love to show pictures of my new master bedroom...only it's not done yet!
in my mind it is...
in the matrix it is...
but here on earth, it's not...
but some of the projects i want to share (in the future) that we did in the room were:
♥board & batten wall...
♥fabric covered ceiling medallion & chandelier
♥an amazing thrift store dresser find repainted
♥and a couple other things :)
so go buy an ugly lamp girls and make it cool :)
Sunday, July 3, 2011
A few of my favorite things....
Using Mod Podge with paper is one of my FAVORITES!!!!! So....I wanted to share some things that I have used this handy little bottle of white goodness on (and just some other things for fun)!
A little door hanger...you can also see the mirror to the right which came with the house and was brown with gold trim...a little paper and mod podge and voila!
Another photo of the mirror
Some simple wood frames from Michael's that cost about 2 bucks, covered with paper and ribbon attached. These guys hang above my daughter's bed.
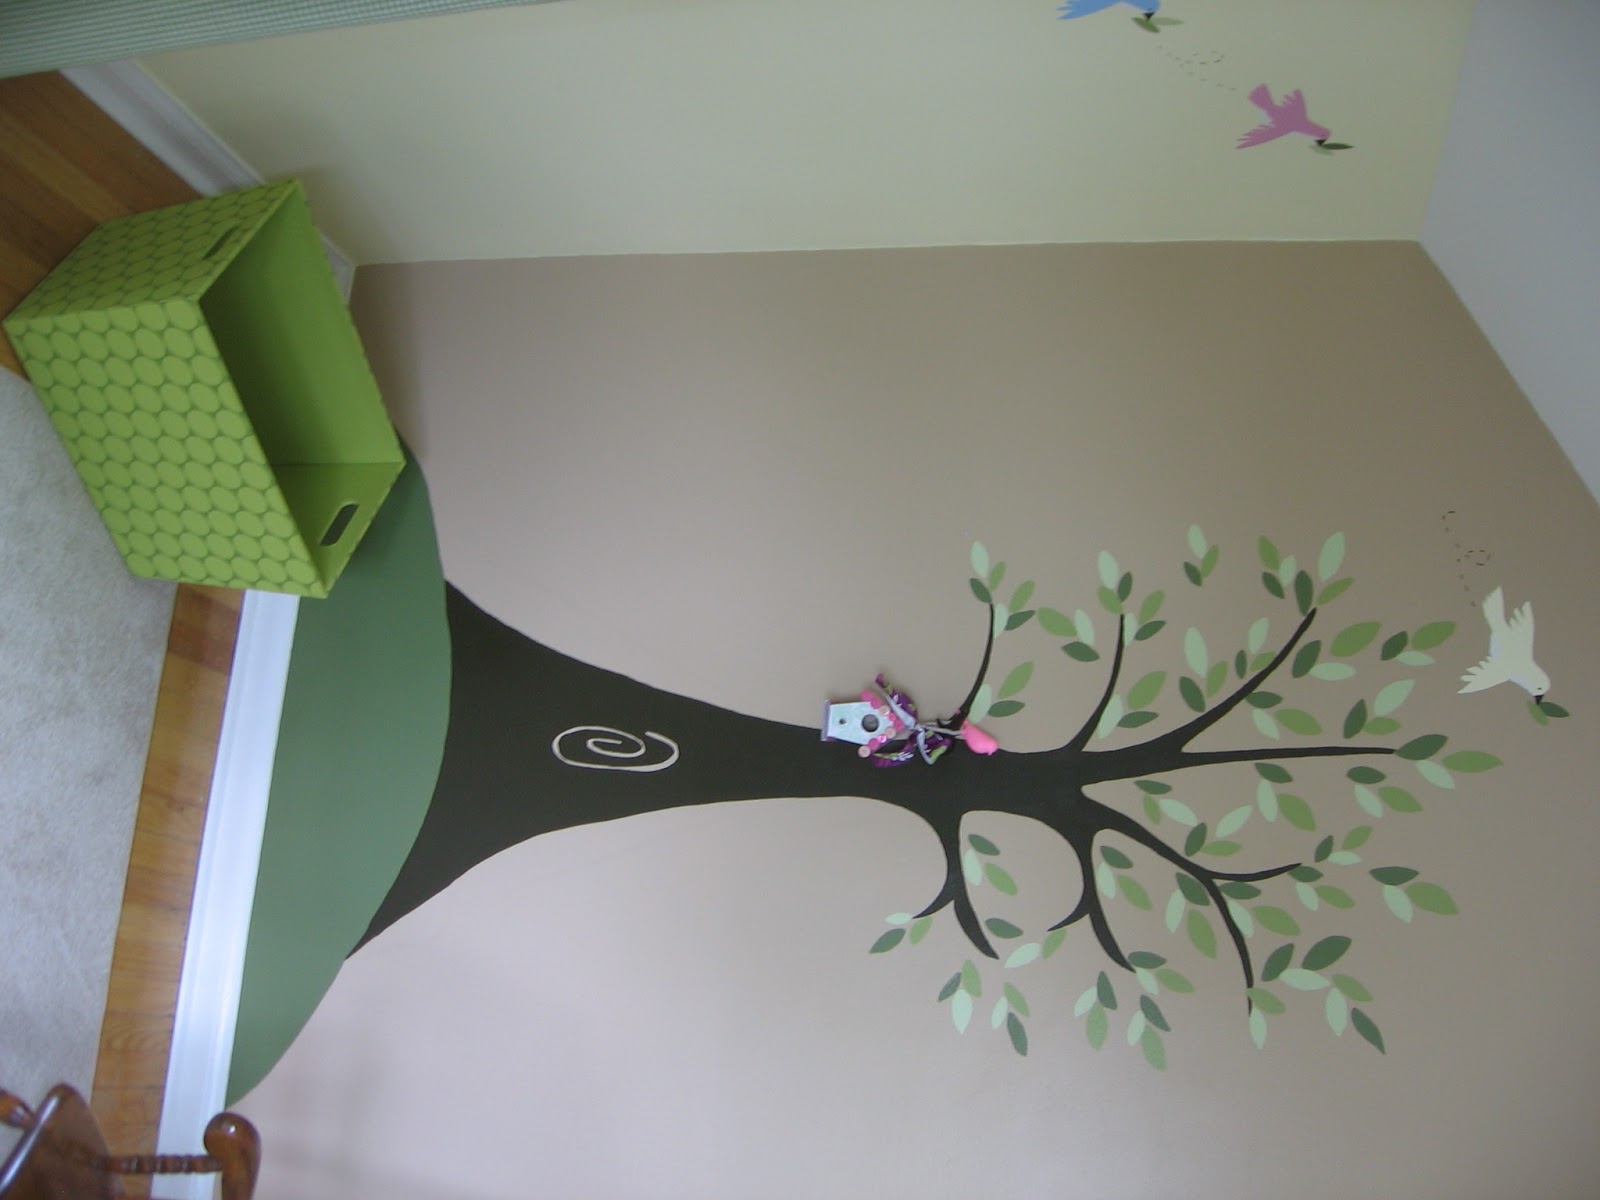
A mural that I painted in my daughter's room....and a little birdhouse I made....
The birdhouse sitting on a hook that looks like a branch with a bird on it!!!
Nothing on this little guy is mod podge...but a whole lot of hot glue. I made two of these lamps for my daughter's room.
Supplies:
Cream and white roses
White lamp base and shade
Hot glue
How to:
Cut all the stems of the roses so they lay flat against the shade.
Hot Glue the roses onto the shade starting at the top.
Continue until you reach the bottom
Enjoy!
Wednesday, June 29, 2011
my brother's dresser
I apologize if the above picture is a bit frightening. This was my little brother's bedroom a few months ago (it has since been much improved, I promise!). What we want to focus in on is the dresser. It's a nice old antique dresser that belonged to our great aunt. My brother had been using it for his clothes and apparently as a belt hangar and TV stand. He has since gotten a new dresser and this old dresser was offered up and I snatched it right away!
I knew there was some potential hiding behind the scratched up top and faded sections.
SEE!:
I think this dresser is taking well to it's new surroundings- our nursery of course!
When I got it to my house, it definitely needed a good sanding down. I knew I wanted it to be a lighter color instead of the reddish color that it was. Unfortunately, after sanding it down (I promise I did ALL this before I was pregnant!) the scratches in the top just weren't fixable. So instead of re-polying it all, I decided to go with a two tone effect. I painted the shell of the dresser in white and poly'd over the drawers so their natural wood hue could shine through. A couple of $1.99 knobs later, and this baby shined right up! Total cost for the dresser was only about $16 since the dresser was free, the paint and poly I had on hand, and the knobs were very reasonable!
Ooh and another sneak peek of the nursery is in the mirror! And no, that's not a hand print painted on the top of the dresser, it's an old hankie that I had made for my mom when I was little- it's my hand print!
I love how simple the knobs are, yet they make the dresser look much more modern.
And of course what I love most about the dresser? The cute baby pj's it holds!!!
Saturday, June 4, 2011
a crate made out of yardsticks...♥
i ♥ these crates...sometimes i dream about where i will put them
& what will go in them...
trust me, once you make one, you will make many :)
this was actually my first, very own, using power tools project! thanks to the chief i now know how to use a table saw, chop saw and super duper powerful air nail gun thingy...thanks honey for teaching me ♥
to make one (or 20) of your own you'll need...
• yardsticks
(69cents @ Lowe's)
• 3/4inch pineboard or any scrap wood you have layin' around will do...
• power tools: we used a table saw, chop saw & nail gun
• wood glue
...cut 2 end pieces...mine were 7x7 some were 8x8
i used 4 yardsticks cut in thirds for a shorter crate
and 5 yardsticks cut in half for a longer crate...
use wood glue for extra reinforcement
line up the yardsticks and nail together...i used 4 on the bottom and 4 on each side
i mod podged paper on the insides & outsides of the 2 end pieces and filled the crate with mason jars...
aren't they so cute!! i plan to use these for storage in my pantry for right now...but wouldn't these be perfect in a craft room?
go crazy 'n make yourself some...
Update! Check out these crates and some of my other projects on Colorbok's blog...the official makers of the Flea Market Paper line!
I'm Linking to these great sites:


Subscribe to:
Posts (Atom)