Showing posts with label mod podge. Show all posts

Tuesday, July 26, 2011

simple...♥

i want to simplify...don't you? 
this summer has been a strong reminder that i will never reclaim time that has past...
"...my days are as a shadow that passeth away"...psalm 144
little girl giggles...
curly hair that smells like the beach
milk & cereal out on the deck...

simple things...


clothespins & decoupage...cuteness


chicks & hens livin' in a carved out tree stump
(the chief came up with this all on his own...i ♥ this man)


celebrating 12 years this weekend...love ya all my life ♥ 


free printable for you...download here ♥

happy simpleness...
Linking ♥
Todays Creative Blog  


Join us Saturdays at tatertotsandjello.com for
 the weekend wrap up party!

 Todays Creative Blog

Sunday, July 3, 2011

A few of my favorite things....

Using Mod Podge with paper is one of my FAVORITES!!!!!  So....I wanted to share some things that I have used this handy little bottle of white goodness on (and just some other things for fun)!
A little door hanger...you can also see the mirror to the right which came with the house and was brown with gold trim...a little paper and mod podge and voila!
Another photo of the mirror

Some simple wood frames from Michael's that cost about 2 bucks, covered with paper and ribbon attached.  These guys hang above my daughter's bed.
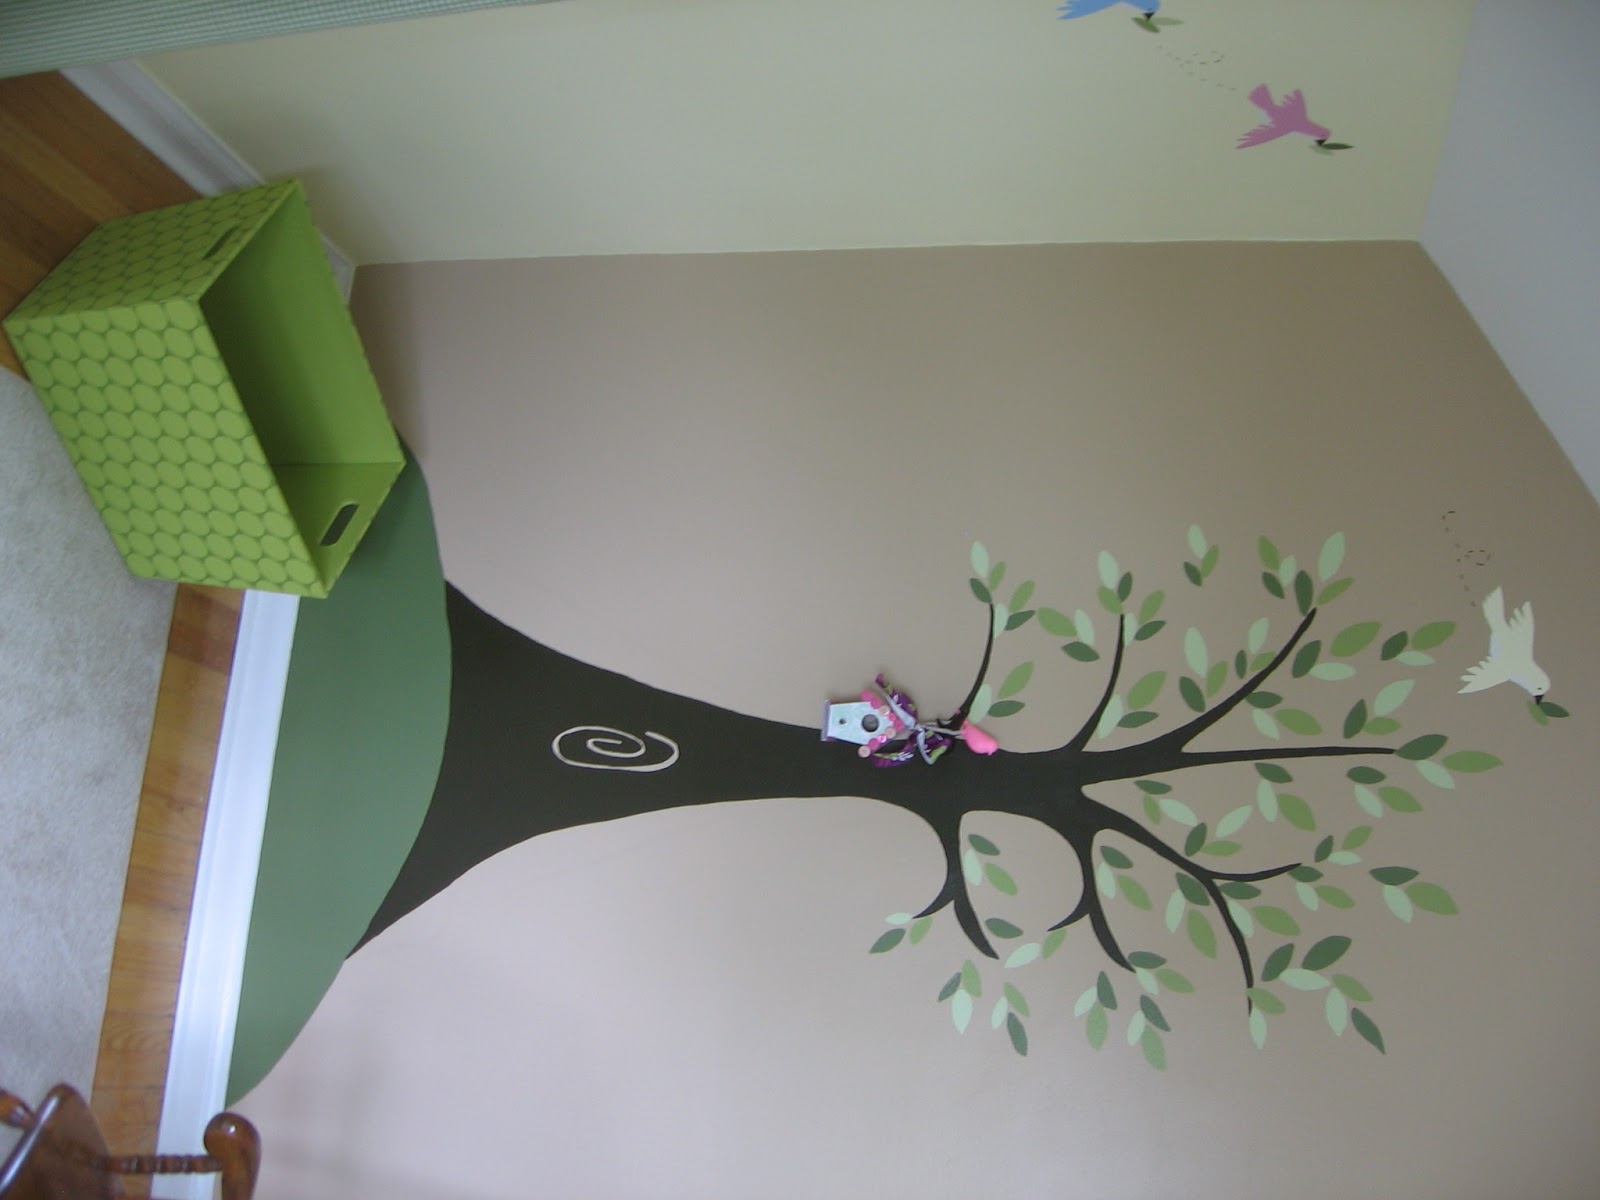
A mural that I painted in my daughter's room....and a little birdhouse I made....

The birdhouse sitting on a hook that looks like a branch with a bird on it!!!

Nothing on this little guy is mod podge...but a whole lot of hot glue.  I made two of these lamps for my daughter's room. 
Supplies:
Cream and white roses
White lamp base and shade
Hot glue
How to:
Cut all the stems of the roses so they lay flat against the shade.
Hot Glue the roses onto the shade starting at the top.
Continue until you reach the bottom
Enjoy!


Saturday, June 18, 2011

a mod podged pantry...say what? ♥

well happy weekend sisters...this week i was in a weird zone...yeah, i repeat weird...
i made the yardstick crates to organize my pantry...except when i went to organize my pantry it was lookin' kinda sad...blah...


oh...hey pantry...it's just you...
you need a little pick-me-up
if my pantry could talk...i woulda heard..."great" (in an Eeyore sounding voice)
that's when weird ideas start to come from left field...so off we went my pantry and i...on an adventure jaime style...(go big or go home)


...so i was just gonna bust out some paint and a brush...boring...when i remembered seeing this in my pottery barn catalog:


i know it's kinda hard to make out, but the wall is papered with old boat blue prints...genius!
'cept i have no old blueprints of nautical nature and i kinda wanted to do this project chipper chicken style" (any Father of the Bride fans out there with me?) ...that's when i thought of sewing pattern paper...now that i had plenty of, a huge bunch dated from the 60's...i musta raided an old lady's stash a couple years back at a yardsale...

and of course some mod podge...(cough cough) 
well alot of mod podge...like 2 and half bottles


i started at the top and spread some MP on the wall then spread the paper out over it...WARNING...because the paper is so thin as soon as it's wet from the MP it becomes very fragile and stretchy...but here's how it turned out...

well hello pantry! where have you been all my life?

all total it took me about 3 hours to do the whole pantry, 
then decided to add the flower decals for some color...


weird huh? but it's really growing on me :) 
i'll take more pics when it's all done and full of pretties...

Linking To ♥


beforeAndAfterButton

Saturday, June 4, 2011

a crate made out of yardsticks...♥


i ♥ these crates...sometimes i dream about where i will put them 
& what will go in them...
trust me, once you make one, you will make many :)
this was actually my first, very own, using power tools project! thanks to the chief i now know how to use a table saw, chop saw and super duper powerful air nail gun thingy...thanks honey for teaching me ♥

to make one (or 20) of your own you'll need...

• yardsticks
(69cents @ Lowe's)
• 3/4inch pineboard or any scrap wood you have layin' around will do...
• power tools: we used a table saw, chop saw & nail gun
• wood glue

...cut 2 end pieces...mine were 7x7 some were 8x8
i used 4 yardsticks cut in thirds for a shorter crate
and 5 yardsticks cut in half for a longer crate...


 use wood glue for extra reinforcement
line up the yardsticks and nail together...i used 4 on the bottom and 4 on each side


  i mod podged paper on the insides & outsides of the 2 end pieces and filled the crate with mason jars...
aren't they so cute!! i plan to use these for storage in my pantry for right now...but wouldn't these be perfect in a craft room?


go crazy 'n make yourself some...
Update! Check out these crates and some of my other projects on Colorbok's blog...the official makers of the Flea Market Paper line!

  I'm Linking to these great sites:

The Shabby Nest


Funky Junk's Saturday Nite Special
 
Photobucket
 
 UndertheTableandDreaming   
 
 The DIY Show Off

Nothing But Country
 

:)

Related Posts with Thumbnails