Friday, June 24, 2011

Red White 'n Blue Paper Bead Bracelet


Hello sisters, Nel here for some Friday fun!
I mentioned my excitement about paper beads and I'm back at it! This time with a red, white and blue beaded bracelet for the 4th of July. I made one for Lulu, one for my sister, one for my little niece and one for myself. 

Start with paper strips, mine were about 6 & 1/2 inches long and about 1/2 inch wide. The red beads were made with origami paper that was a bit shorter so the beads came out thinner. I have a little tool to roll the beads that came with the Klutz book but you can also roll them around a tooth pick. The tool just makes it a bit easier because it has a slit that catches the paper and holds it tight while you roll.


The tapered paper strips will make bicone shaped beads and the rectangle strip will make a tube shaped bead.

Roll the paper strip around the toothpick as tightly as you can. When you get about half way, apply some Mod Podge with a paintbrush and keep rolling. Apply more Mod Podge to the end of the strip and hold in place until end is secure. Put the bead on the end of a toothpick and paint the whole bead with Mod Podge to glaze it. Allow to dry overnight.
Keep out of reach of curious cats!  They look like little happy tiki torches!


These make me very happy...especially mixed in with some glass beads. Does anyone else LOVE beads?


Add some other fun silver beads, white seed beads and  dangle-y star charms.
I lay out the pattern before I start to string anything, just to make sure it is long enough and looks pretty.
I used Stretch Magic clear elastic, 1 mm diameter to string these beads.


I tie the ends in a knot twice and then just cut the ends close. The knot shows but it just looks like a little clear bead. 


And now for the best thing we ate this week...it would be Tabbouleh. Never had it? It is a Labanese salad that features bulgur wheat, parsley and mint. My mom made it all the time in the summer because she grew mint and parsley and tomatoes. It is a different taste and texture but I love it. It makes a yummy lunch or side dish. Many of the recipes on line add cucumber but my mom never did. Here is her recipe...

Tabbouleh
1 cup bulgur (cracked wheat)
3/4 cup finely chopped onion
1 tsp salt
1/2 tsp pepper
1/2 cup chopped fresh mint (or 2 T dried mint)
1 & 1/2 cup chopped parsley
1/2 cup olive oil
1/2 cup lemon juice
2 tomatoes, chopped

Pour 1 cup boiling water over the wheat and let stand about 30 minutes, until water is absorbed. Squeeze dry between hands ☺ Mix with onion, salt and pepper. Add all other ingredients. Chill 1-3 hours before serving.


Have a great week, we are headed to Cedar Point to ride some roller coasters with my sister and her family. Pray for me...I am old and scared! Haha ☺
Linking to...
Visit thecsiproject.com


Nothing But Country
 

Thursday, June 23, 2011

Adorable Flower Barrettes

I had this cute idea from "J" to create your own barrette using artificial flowers.  I have been making them for a little while and thought I would post a little "how to" make them on your own.  These barrettes are very customizable and easy to make.

What you will need:

Hot Glue Gun
Scissors
Buttons
Ribbon
Artificial flowers of your choice (flat ones work very well)
Generic Barrettes (found in the jewelery section of the craft store)


 Step 1

Start to disassemble the artificial flower.  This is very easy to do.  Simply start to gently pull apart the different pieces.


You will find a lot of hard plastic pieces in between the layers.  I discard these when creating the barrettes.  They were useful in helping the flower hold it's shape while on the stem, but no longer needed when turning them into a barrette.

 Step 2

Select a button and thread it with your ribbon.


 Step 3
Start to reassemble your flower one layer at a time starting with the smallest piece and working your way towards the larger pieces.  You can determine how full you want your flower to look by adding or subtracting layers of flowers.


 Step 4

Turn your flower over and tie a small, tight knot.  I topped my knot off with a tap from my hot glue gun to be sure that it doesn't fall apart.  Try to flatten the area as much as possible to make it easier to glue to the barrette.


 Snip the extra ribbon so that it doesn't show.

 Place a layer of hot glue along the barrette and apply it to your flower.  Hold until it is secure.  Allow the glue to dry before continuing. 


Congratulations!  You have created a barrette that you can wear separately or attached to a headband!


I am super excited about my sunflowers!!!  Keep growing little guys!!
We had an ugly bush growing in our backyard in an inconvenient location.  We didn't know what it was, so the Professor weed-wacked it...a lot.  Obviously it didn't take the hint and came back with these beautiful flowers.  It was a reminder to me to not always judge something by it's outward appearance because it just might surprise you with the rewards that it brings.


Wednesday, June 22, 2011

gift for the grad

Inspired by ♥J who was inspired by eighteen25, I decided to try my own spin on the box of teacher goodies craft, except with a little twist for a high school graduate going on to college.  It wasn't that hard to do, because really, they both need the same things!


Starting with the outside, instead of putting "mrs ***" I used her initials.  The gift was for my cousin-in-law and I did it in her future college's colors!


Also, I looove my new punches. Makes the perfect circle!


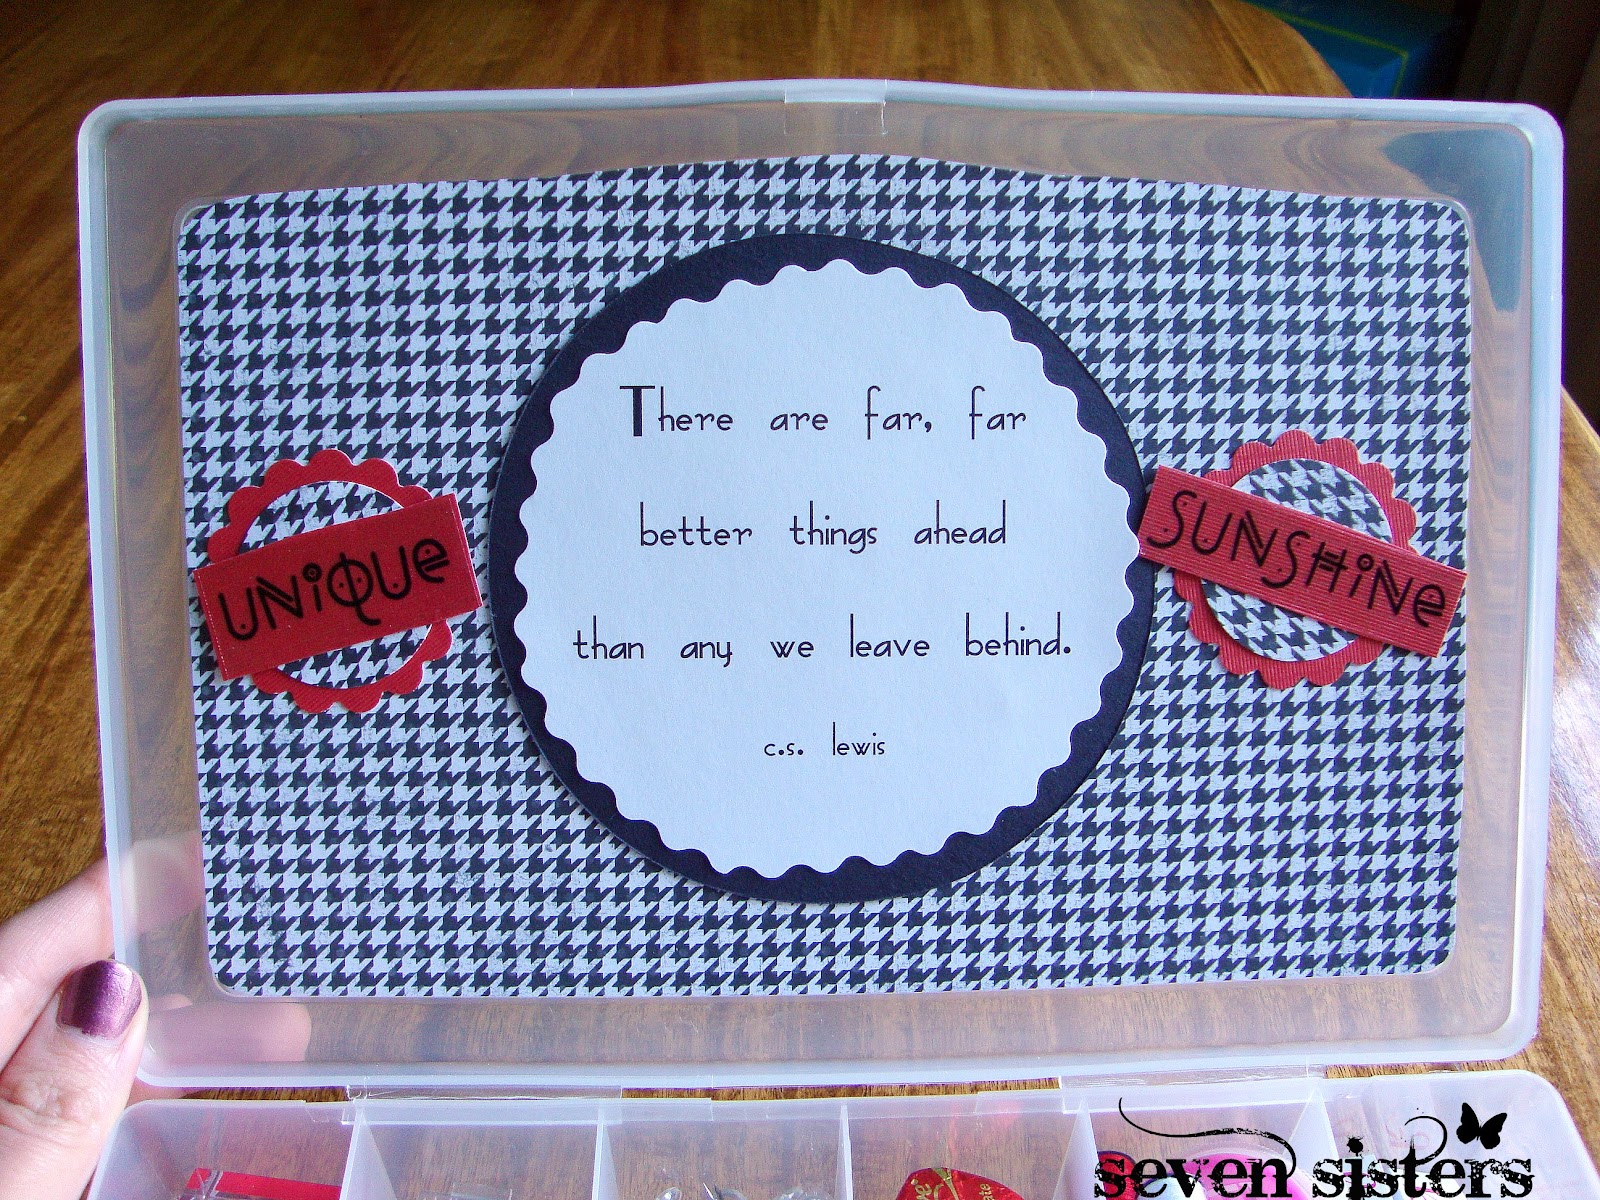
Here's the inside of the box.  Some of the more "college-y" things I added was a mini sewing kit, and a photo holder.


And some detail shots.  Total list of what I included is:
Photo clip
Sticky notes
Mini sewing kit
Dove dark chocolates
Magnet clips (to hold to-do lists, etc)
Binder clips
Magnets
thumb tacks (clear and ladybug)


And the top of the inside of the box has a cool inspiring quote by C.S. Lewis;


"There are far, far better things ahead than any we leave behind."
c.s. lewis

Thanks again to eighteen25 for the awesome inspiration!! My cousin-in-law really enjoyed this gift!

Monday, June 20, 2011

Dear God... your creation Amazes me!


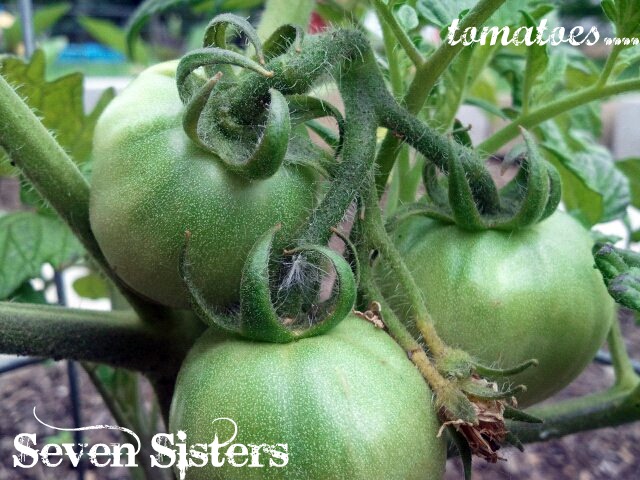
A few weeks ago I posted about my upcoming garden. I wanted it twice as big as last year and so my wonderful hubby dug out and turned over and built my BIGGER garden. (I'm thinking even bigger next year...maybe..just no one tell my hubby..yet!) Over the past few weeks my precious garden started out with little baby plants and seeds, and today I couldn't be happier! I love watching what pops up from the ground. It just amazes me that something so small as a bean seed turns into a beautiful plant with lots and lots of beans to eat.... God is amazing..that's for sure! While planting those little bean seeds in the ground I can't help but say to myself  "really...THIS tiny thing....is going to give me beans...well...ok..here goes nothin'..." And then 14 days later I'm always shocked and amazed to see those little sprouts push their way out of the ground. I can't help it..I'm always amazed that it works! But that just reminds me of how beautiful God's creation is. He can take anything...even a tiny bean seed...and turn it into something beautiful. And that reminds me that He will do the same with me too. No matter what life is throwing my way I just have to remember that little bean seed and know that God will make good come from it.


Below is a peek at my garden...


and last but not least... carrots...
..c'mon carrots..you can make it!


Lastly I made Blueberry Zucchini Bread this week and it by far is the best bread that I have ever eaten!!!
Doesn't it look scrumptious!


:)

Related Posts with Thumbnails