Monday, December 6, 2010

Fancy Holiday Artichokes

I love artichokes! Pretty much anything with artichokes in it I'm a sucker for; artichokes in pasta, artichoke dip etc. When I saw this recipe in Giada's cookbook (in the kitchen she's my right hand gal!) it looked absolutely FAB-U-LOUS!
It is called Baked Artichokes with Gorgonzola and Herbs. If you like artichoke dip then you will LOVE this version and it looks a whole lot fancier than just your average artichoke dip.

Start off with 4 artichokes and trim the top inch or so off the artichoke.


Then trim the stem off the bottom of the artichoke until it can stand upright.

Next, break off some of the really tough outer leaves and use kitchen sheers to trim the pointy leaves. This is how they should look after all your trimming.


Next cut 3 lemons in half (I doubled the recipe in the pictures so it looks like I have more).


At this time place a large pot of salted water on the stove and bring it to a boil. While the water is boiling mix together your other ingredients.
* 10 oz mild Gorgonzola cheese, at
room temp.
* 2 tbs heavy cream
* 2 tsp chopped fresh thyme
* 2 tsp chopped fresh parsley
* 1 very large garlic clove (or 2 small) finely minced
* 1/2 tsp salt
* 1/2 tsp freshly ground black pepper
Once your water is at a rolling boil, squeeze the lemon juice into the boiling water and toss all the lemons and artichokes in. Cook the artichokes until tender. (30 min)


Next, drain the artichokes upside down on a clean kitchen towel. Mine were so tender some of the outer leaves came off.


Once they are cooled, spread the leaves with your fingers and with a small spoon scrape out the center choke, then fill the artichokes with your Gorgonzola mixture.


Place all your artichokes into a baking dish. Sprinkle with 3 tbs bread crumbs, 1 tbs chopped fresh parsley and drizzle with 1-2 tbs olive oil. I also sprinkled pecorno-Romano cheese on top for a little extra goodness!


Bake in 400 degrees for about 25 minutes and then enjoy.
P.S. The outer leaves will still feel kinda tough but you are not supposed to eat the whole leaf. If you are like me and have never eaten an artichoke like this before, you just tear off the outer leaves, dip them into the cheesy goodness and then scrape off the pulp from the leaves with your teeth. DO NOT eat the outer leaves just scape the pulp off. You can eat the inner leaves that are soft. (Thanks Jenn for the tip, or I would have eaten the outer leaves! HAHA)


Sunday, December 5, 2010

Our 100th Post!!

Wow! So excited that we have made it this far already!!

On our 100th post we wanted to reminisce a bit and say THANK YOU to all of our readers! You don't get to 10,820 blog views in 6 months with just us reading!

First let's recap. It all began with a birthday cake (which of course wasn't even the real thing). You've baked with us, cried with us, laughed and learned with us. You survived dollhouse frenzy, which is a miracle in itself: (1) (2) (3) (4) (5) (6) (7). By the way, it's not over. Muahahaa!

Lately you've found us quite magnetizing, with over 5,000 hits just in the last month. For that, we owe ya'll. Big time!

And now, the funnies.
Blogger stats make us laugh. Here are a few that tickled us pink!
  • decorating dollhouse strange (Hopefully they got some good information from our blog and nothing "strange"!)
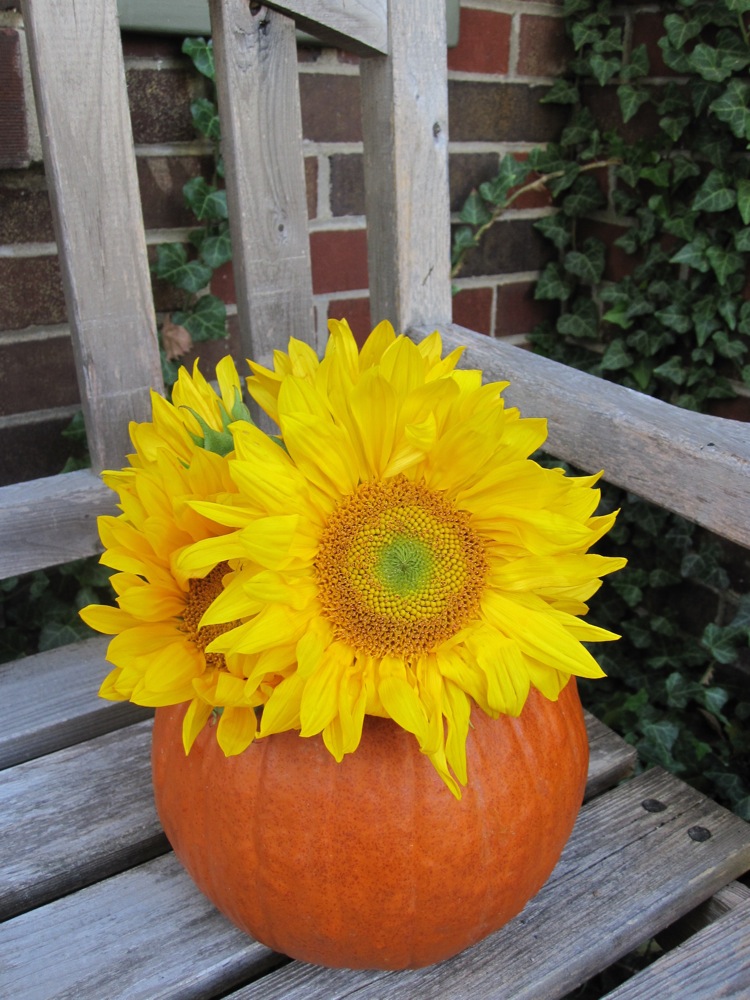
  • pumpkins with everything nice inside (perhaps they were looking for something like this and instead found J's post?)
  • seven sisters t-shirt (We wish!)
  • the large frame is a photo (question or statement, we'll never know...hopefully they found S' post!)
  • what Gap does with their fabric scraps (no idea, but we know what we'd do with 'em!)
  • meatloaf shaped like a mummy (someone was looking for some scary food ideas! Isn't meatloaf scary enough though? Hope they found Nel's post!)
Gotta love Google!

Basically we just want all our readers to know how thankful we are for you. You make us smile every day by reading, commenting, following, ♥'ing, etc. We've been pleasantly surprised with readers from all over the globe! And to you we give a big What's up to Canada (heh heh), Merhaba to Turkey, Hallo to Germany, Ahoy to Australia across the sea, Cheeri-o to the UK, Hola to Spain, Bonjour to France and Ciao to Italy!! (Apologies if we forgot your country!)

Leave us a comment and help us get to know YOU! We'd love to check out your blogs and inspiration as well! Looking forward to 1♥♥'s of more posts to come!

Still Thankful


With the Thanksgiving holiday come and gone...I am still reflecting on things in my life that I am thankful for. I am thankful that I am married to the most loving man in the world, who supports me in anything that I do. I am thankful for my healthy little girl who has changed my life for the better. I am thankful for my dear friend Mar who is so giving of herself and is willing to help me, this is my thank you to you. I am thankful for my seven sisters who in spite of my absence in writing each week still have faith in me! So with all the turkey gone... I look forward to the new year, and hope that it will be spent with those I love and that with a new year will come new beginnings....


Saturday, December 4, 2010

i really ♥ gritty pear honey

que music....
"have a holly jolly Christmas....it's the best time of the year"...
farewell Thanksgiving...hello holiday chaos...
so here we are in the swing of things over at 7sistahs, full gear for the Merry Holiday, either you're like ♥S who has her yearly newslette
r for 2016 already planned out...or you're like me...
work. only. under. pressure.
(....as ♥E would put it, so dramatically with a super hilarious facial expression) ...for all the sistahs who relish & thrive in the urgency of today...i ♥ you ...hope you like pear honey (with a little bit of pear grit)

♥Pear Honey Recipe♥


♥ Ingredients ♥


♥ Pears...pretty!! ♥


♥ Chopped Pears♥


♥ Pears in stockpot♥
Please take note!!! the recipe instructs you to boil down until the texture and color of honey is reached...what failed to be mentioned, in any recipe that i googled online, was that the texture you're looking for will only appear after cooling!!! i was cooking & cooking, wondering why my batch was not turning into honey, until i realized it wouldn't thicken up until it cooled down...my recommend boilng time: 1 -2 hours...stirring often...enjoy♥


  1. Place chopped pears into a large pot, and pour pineapple juice over them to prevent them from browning. Stir in sugar, and bring to a boil over medium-high heat. Stir frequently to prevent scorching. When the pears are at a full boil, reduce heat to medium, and cook until the mixture is the color and texture of honey. The longer you cook it, the thicker it gets. Cooking time is usually 2 to 3 hours.
  2. Ladle into hot sterile jars, filling to within 1/4 inch of the top. Wipe rims with a clean damp cloth, and seal jars with lids and rings. Process in a boiling water canner for 10 minutes, or the amount of time recommended by your local extension for your area.

Linking to...


All Things Heart and Home


Photobucket

Friday, December 3, 2010

Thatsalota Snowmen!


2010...the year of the snowman.
At J's Aunt's house it is, and I had the honor of being invited over for the "coming out" party...coming out of their totes from the basement, that is! Sister J has an Aunt MJ who has an AMAZINGLY COOL snowman collection that rivals any collection I have ever laid eyes on. And I come from a collecting family. My Nana collected elephants (not sure why), my Great Grandma collected salt and pepper shakers (nifty), my mom collected dogs, but her collection was mostly lost when she moved. My older sister was assigned bunnies to collect because she was born near Easter, I, on the other hand, was assigned bells because I was born in December, near Christmas. Let me assure you that bunnies are far more enjoyable to collect than bells when you are a child. I was always very jealous that my sister's room was full of cute, furry bunnies and I had dumb bells (ha! get it?...Dumb bells..heehee).
Anyway, just to say I have seen a few collections in my years and this one is something to behold. Hopefully the pictures will do it justice.

Many hands make light work and with myself, J and her two daughters, J's mom, Aunt P and Aunt MJ and their neighbor, we unpacked and displayed about 10 totes full of snowmen in one afternoon. We unpacked, fluffed and placed and then Aunt MJ came around and probably moved every single one to it's "correct" position in the menagerie.
All the shelves, windowsill, mantle and china cabinet had already been cleared in preparation for the army of snowmen, so our job consisted mostly of oohing and aahing as each new snowman was unwrapped.

Here are a few before and after pictures, warning to the faint at heart... if lots of little knick-knacks and millions of "things" everywhere cause you to break out in a sweat you may want to refrain from further viewing...(Aunt P...time to look away) ☺

China cabinet before...

and after..
(I know...you're thinking, that looks pretty and oh! snowman dishes...cool!)


The staircase before...


and after...
(now you're thinking...okay, that's a lot of things to potentially trip over at night)


The mantle before...


and after...
(all the ones on the mantle light up in some fashion, very exciting!)


and check out all these little teeny guys lined up on the molding!!!


Okay, are you ready for the shelf of amazement??...
(ta DA!)

(now you're thinking...thatsalota snowmen!!!)
Guess what...there's MORE....


and more...

and some more...


snowmen in the kitchen...


snowman scissors...
(I know, I know...who knew??)

my favorite...a spoon rest...

Lulu's favorite...a huge snow globe that snow actually blows around in! Super cool!

And J's favorite...actually she greatly dislikes this one because he has man-boobs which may or may not be visible in the photo but were there none the less. He really isn't welcome at this party at all seeing as he is a snow MONSTER not a snow MAN!!!


It was very exciting to see them in their glory, I feel like Aunt MJ could sell tickets to come and view the collection! On a side note, the snowmen only come out every other year which makes it even more special. I am really feeling the "every other year" thing and I proposed to the mayor that maybe the Star Wars ornament collection could just go on our tree every other year?? I can't even begin to explain the look I received, kinda like Linus being separated from his blanket. Nice try.
Well, thank you J and Aunt MJ and Aunt P for including Lulu and me in your decorating day! It is much more fun to decorate someone else's house than my own! Viva la snowmen!


Thursday, December 2, 2010

E's Project Implementated!


E - I thought your idea was soooo cute that I decided to make some magnets of my own. Check them out! I plan on giving them away as Christmas presents this year. They were so simple to make and they look so cute! Thank you so much for the awesome idea!!!


Linking to:

Dare to DIY

Wednesday, December 1, 2010

hang the stockings, trim the tree

True to my Christmas countdown calendar seen here and here, last Friday was spent decorating the house with all the trimmings.

Every year though, I find myself stumped as to what to do with our stockings. You see, our house has no fireplace, and no stairwell banisters. We have a long floating shelf in our living room that I have hung stockings from before, but there's just something strange about how that looks. It always seemed messy looking to me, and our floating shelf isn't the most sturdy thing in the entire world, so I don't want to have any worries about it crashing down with all the goodies my hubby is going to put in my stocking ;). Last year I tried hanging them from the windowsills, but that was just too low and out of sight.  So I walked around my house (seriously, I think I just wandered around my house for 30+ minutes trying to think of how I would make this work.) What can I say, I am dedicated to the Christmas spirit!!

Finally, after some leftover mousse torte from Thanksgiving, inspiration struck, and here's how I did it.....

First I grabbed a branch from the backyard. We had some pretty sizeable ones due to some fairly rough winds recently, so finding a keeper was easy as pumpkin pie.

I had some leftover shiny silver spray paint from who knows what project, and decided to go to town on my branch.

Now it was time to hang. In the inspiration photo above, they used some pretty wide ribbon. I had some blue and silver colored ribbon in my crafty stash, and debated whether I would use that or clear fishing line.
(Obviously you can't see the fishing lure line in the photo above because it's invisible. duh.) And yes, I added sparkles to the photo. SPAAARKLES!

Ok, so I've got fishing lure in hand, along with my shiny branch, some scissors, and a nail and hammer. Here's my blank slate:
Usually I have a small photo collage on this wall, but I took it down to allow my super amazing Christmas stocking holder idea to come to pass. My plan was to string the branch between the curtain rod on the left and the doorway molding on the right. And that's where the hammer and nail come in;
At the top of the door molding, I hammered in a little nail so I would have something to attach the invisible string to on that side. This works out so much better than putting holes in the ceiling or wall using hooks. I can remove this nail, and I don't even have to fill it because no one is going to see it. Next year, just stick the nail back in and put up the branch again! Handy.

So, once all was said and done....VOILA!
Part of the photo collage made it back up since it just didn't seem like Christmas without my great grandma and grandpa's photos up. Oh, and here's a secret...no, the Marshmallow does not get two stockings...we have two dogs. They couldn't be more opposite though...while the Marshmallow greets the camera with open paws, the other one goes into hiding, so I let her live quietly and in peace. Of course, they both get a stocking at Christmas! Also, you can barely even see the nail! I promise I didn't photoshop it out.


Here's to a very merry kickoff to the Christmas season! Where do you hang your stockings?

♥ Mark 11:23-24 ♥
♥ "For verily I say unto you, That whosoever shall say unto this mountain, Be thou removed, and be thou cast into the sea; and shall not doubt in his heart, but shall believe that those things which he saith shall come to pass; he shall have whatsoever he saith. Therefore I say unto you, What things soever ye desire, when ye pray, believe that ye receive them, and ye shall have them. " ♥


:)

Related Posts with Thumbnails